Denied business can take many forms. This can range from a guest that you do not wish to take (due to previous bad history, bad credit, a booking that would require too much function space or you do not have enough rooms, etc) or a company that decides against booking with you (did not like the location, rate too high, etc). It can also be due to limited capacity; when your Property cannot accommodate more guests, because it is fully booked at that time, then your response to the potential customers’ request is called a Denial.
Denial codes are used to track business that does not materialize, whether you do not take the reservation or the guest does not want to stay at your Property. Denial codes selections are part of the Property and System Configuration area of Skyware. You can alter these or add others for your property in the Property and System Configuration area. See Property and System Configuration Overview for more details.
Keeping a record of Denials and their reasons is always a good idea for your Property. It lets you track reservations or group business that is turned away for whatever reason, and potentially develop a strategy to reduce further occurrences (such as increasing capacity at certain times, or increasing your prices for certain desired dates to ensure that you are maximizing profits).
All denied business entered into Skyware may be viewed on the Denied Business Report.
When entering an individual reservation, using the Reservation Wizard or creating a Group Block, once you enter the date range a pink Deny button will appear in the upper right of the screen, allowing you to "deny" (turn away) the reservation.
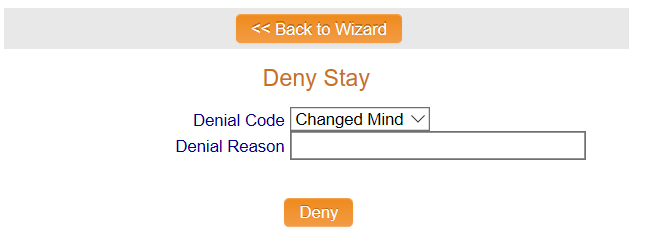
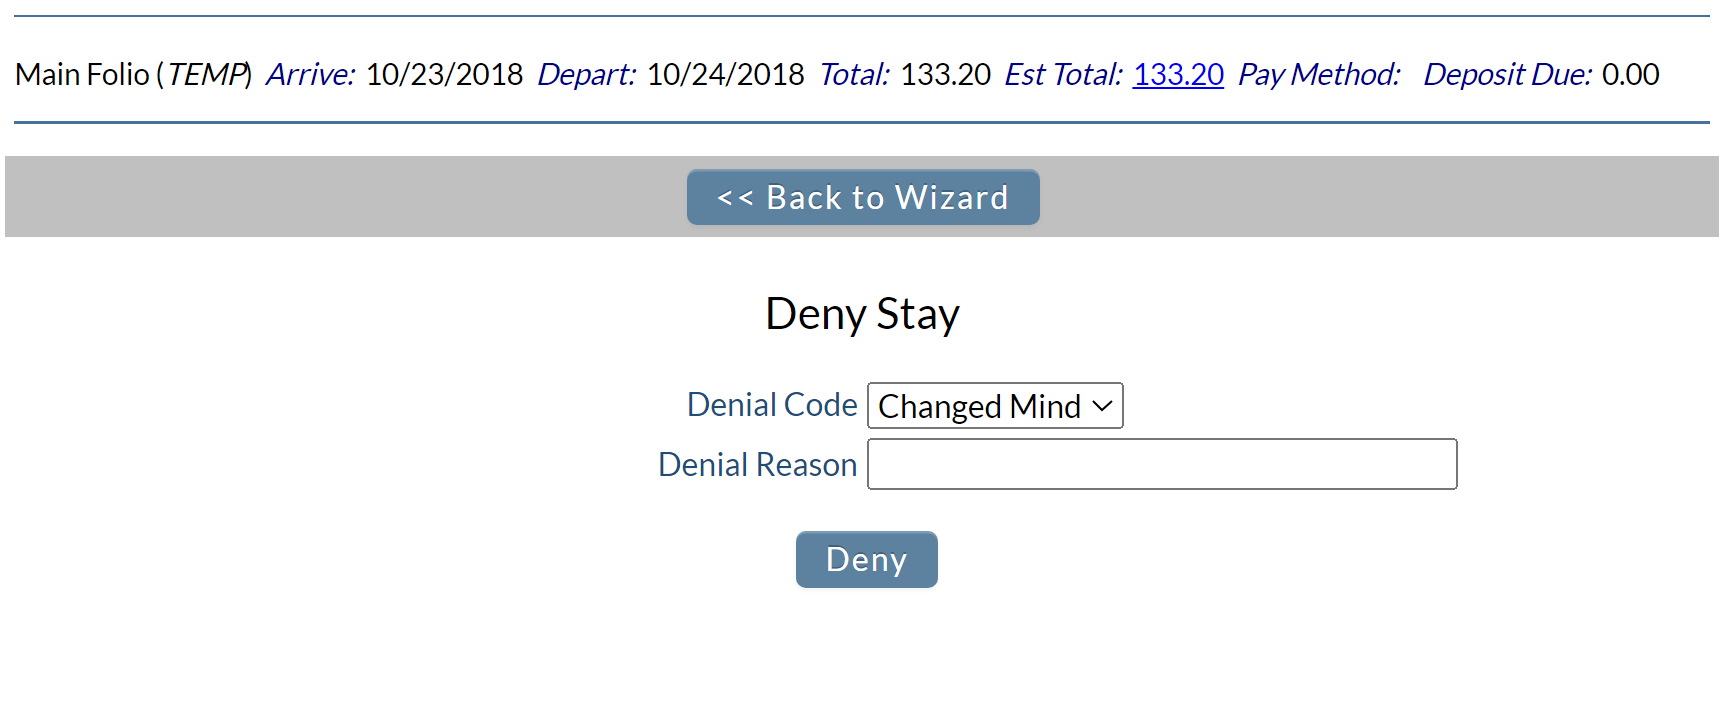
If a Guest decides that they do NOT want a reservation, clicking the pink "Deny" button will release the room(s) back into inventory. Automatically, a new Deny Stay screen will be displayed, where you will pick a code from those available in the drop-down menu and can type in the Denial Reason box.
Select your Denial code from the drop-down list of available options, and in the Denial Reason field enter a descriptive reason of why the business is not coming to your property, then click the Deny button.
If you have progressed as far as to attach a guest or group to the reservation before you then deny it, the denied business will be attached to the guest and can be viewed under the Stay Information for the guest. Otherwise (if it is not attached to a specific guest), it will be tracked as denied business but not associated with a specific guest record, and will only be viewable on the Denied Business Report.
Any Denied Business can be viewed on the Denied Business Report using the Denied Business command in your Reports Menu.
The Reports Menu can be accessed by clicking the Reports icon on the Action Bar:
Note: In the NEW look for Skyware, the Action Bar appears slightly different but retains the Reports button.
OR
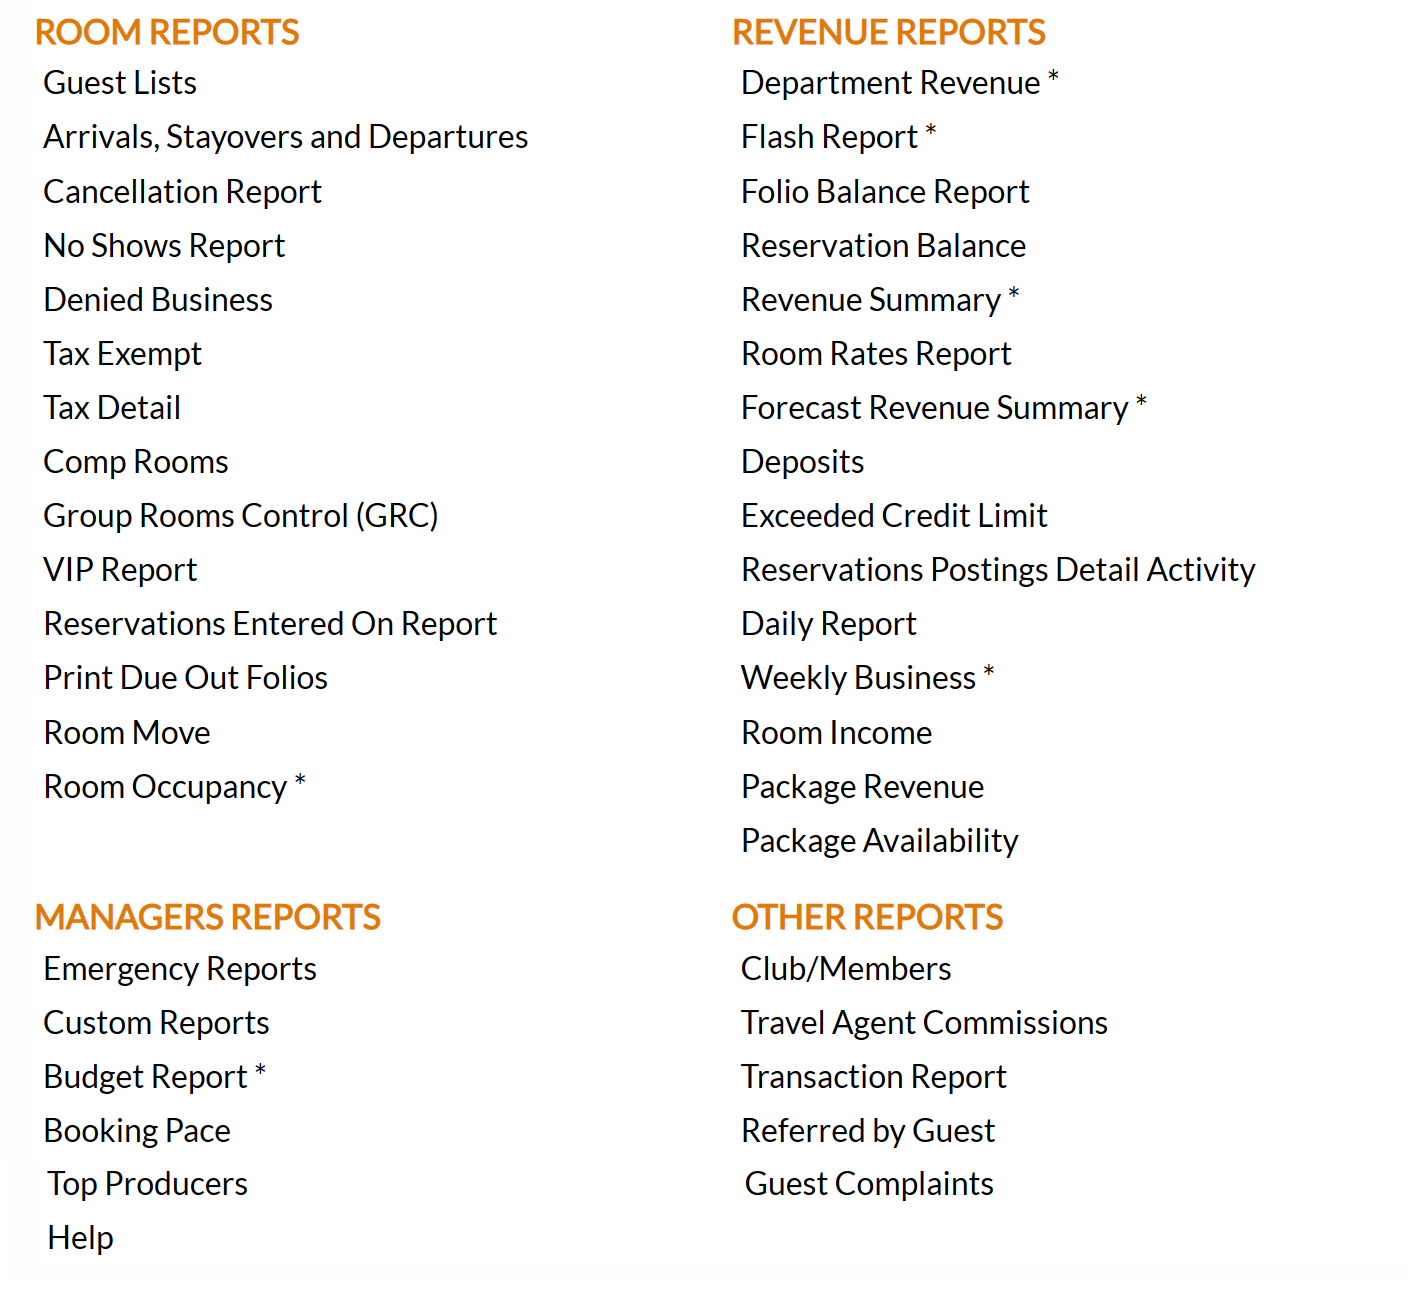
The Reports Menu screen is divided into four sections, each containing command links for different types of reports. These sections are Room Reports, Revenue Reports, Managers Reports and Other Reports.
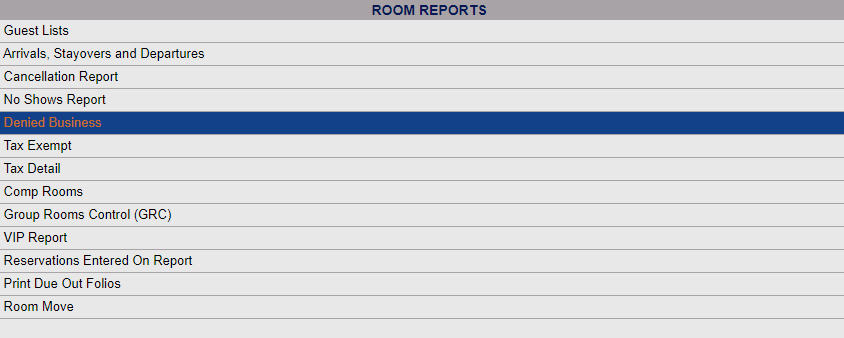
Select the Denied Business report command from the Room Reports section.
When the Denied Business command is selected, the Denied Business Report screen will open.
Date Range: Choose the Date range for the Report to display.
From: Click within the date field to expand the calendar and choose the desired date. By default, today's date is selected.
To: Click within the date field to expand the calendar and choose the desired date. By default, today's date is selected.
Note: Changing the "From" date will automatically update the "To" date (to the same date). To expand the date range shown on the report to more than one day, you MUST change the "To" field, AFTER the "From" date field.
When you have selected the date range to display, click the button Run Report.
Once generated, the report shows the date the business was turned away (denied), the date they were due to arrive, the company, rate, number of nights, potential revenue, market segment, denial code, who entered/denied the reservation, and the reason the business was denied (as a comments section).
By default, the report is generated in PDF form and opens in a separate browser window. From there you can select to save or print the report, among other options. You can, instead, check the Generate report to excel checkbox to generate the report in HTML for downloading to excel instead of PDF.
Date Updated January 31, 2024